HTML5 Facebook Login for Android
Audio : Listen to This Blog.
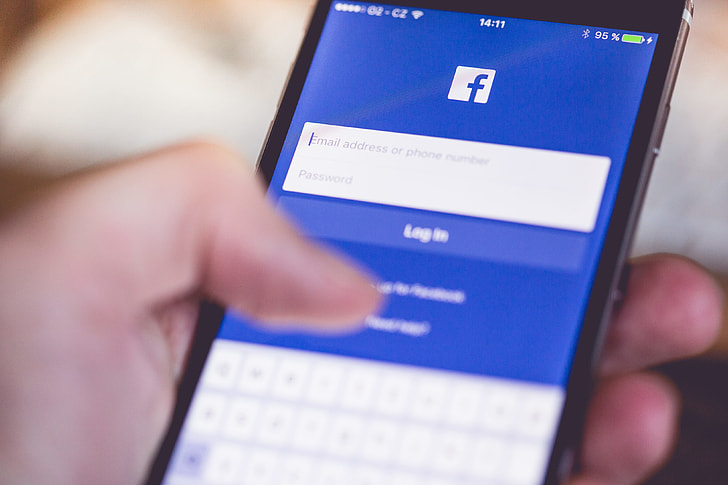
The goal for app developers is to convert downloads into users – and then drive repeat usage. Obviously conversion efficiency is critical and each incremental step is an opportunity for drop-off. Facebook’s mobile Connect is a huge improvement and significantly better than asking new users to enter account information. There are two important concepts in Facebook Connect
1. Logging the user in to your Application without having him to fill all the registration form details
2. Once logged in, getting critical details like User email-id, profile picture, gender, location, full name etc. from Facebook.
This Blog focuses on both these concepts – How to use Facebook Connect to Log a user into your HTML5 application and get User data from Facebook. Also, this approach does not depend on the native Facebook application. Source code and plugins are included along with the article.
Step 1: Create a basic Hello World application. Refer Getting Started with Android
Step 2: Include the Facebook plugin by adding the following to xml/config.xml.
Step 3: Copy the folders ‘res’ and ‘src’ to your Android Project. DO NOT overwrite the existing files.
Step 4: Find FbDialog.java under com.facebook.android and in line no. 42, replace the following with your Project package name and namespace. ‘yourpackagename’ and ‘namespace’ has to be same as the one created in the beginning. Refer the screenshot.
– import com.yourpackagename.namespace.*;
Step 5: Replace the ‘www’ folder in the assets with the downloaded ‘www’ folder.
Step 6: In index.html (line no.65),replace the ‘appId’ with the ‘appId’ obtained from Facebook developers.
To get the ‘appId’ go to and create an application. You will be given an appId.
Step 7: Run the Application. After successful login, Facebook returns
– User profile picture, user full name, user id, user location, user gender, user email.
To retrieve more information about the user, check
Quick Download:
1. Download the project ‘FBlogin’ and import into your Eclipse Workspace
2. Change build path for cardova
– Right click on android project -> Properties -> Build Path –> Change to existing cardova.jar path
3. Change ‘appId’ to the appId obtained from Facebook
4. Run the Android application.


